This is default featured slide 1 title

Go to Blogger edit html and find these sentences.Now replace these sentences with your own descriptions.

This is default featured slide 2 title

Go to Blogger edit html and find these sentences.Now replace these sentences with your own descriptions.

This is default featured slide 3 title

Go to Blogger edit html and find these sentences.Now replace these sentences with your own descriptions.

This is default featured slide 4 title

Go to Blogger edit html and find these sentences.Now replace these sentences with your own descriptions.

This is default featured slide 5 title

Go to Blogger edit html and find these sentences.Now replace these sentences with your own descriptions.

Showing posts with label photoscape. Show all posts

Create Out Of Focus Photo With Photoscape

Some times object our photo will look better if background blur.  You can create with Picasa at this page. But at this time we'll create it using Photoscape. It's effect in Photoscape called Region(Out of Focus). Let's start :
1. Open your file.
2. Make it Sepia click it at bottom.
Sepia
3. Left Click at Filter > Region(Out of Focus).
choose Region(Out of Focus)
4. New window will appear. Choose Blur and set the Level, Size and Feather.
Region(Out Of Focus)
5. After that you can combine with Frame.
final result

Reduce Noise in Photo With Photoscape part 2

After learn how to reducing noise part 1, there is one more tool can reducing noise in our photo.
1. Open your photo
2. Choose Filter and then Noise Reduction(Clear Skin). Choose whats you like, Low, Middle or High.
Noise Reduction
3. You can combine with Frame or Antique effect.
before
after
after


Reduce Noise in Photo With Photoscape part 1

Sometime noise in our photo so annoying. It already mention in reduce noise with noiseware community. But if you only have Photoscape, it's also can be done.
1. Open your file.
2. Choose Filter and left click Smart Blur(Clear Skin)
Filter  >  Smart Blur
3. Then you can combine with another effect, such as Antique and Frame.
before
after

Reflection Effect in Photoscape

Photoscape is an easy photo editor in digital image editing. If it compare with Photoshop or GIMP. Photoscape offers very easy tools for beginners. Such as How to Create Fisheye Effect With Photoscape or Create Antique photo. There are more tools if you want to search it. Such as Reflection in Filter section. With this tool you can create reflection like reflection in water.
1. Open your image or photo.
2. Left click Filter and choose Reflection.
Filter > Reflection
3. New window will appear. Set Size, Level and Perspective.
Reflection
4. You can combine with Frame or another effect.

Playing Pictorialization in Photoscape

Some software photo editor have some special effect. Photoscape, one of the digital image editing have it too. It called Pictorialization. Your image could be like painted by pencil, water painting and others.
Let's start it
1. Open your photo.
2. Chose arrow the right Filter. Chose Pictorialization and choose what effect you like.
Filter Pictorialization
3. After that, you can combine with another effect. Like make  frame, antique or make distorts
Pictorialization effect

How to Create Fisheye Effect With Photoscape

Do you know fisheye efect in digital image editing? For more detail lets star create it with Photoscape.
2. Click the arrow right beside filter. Choose Distorts and click Fisheye.
Fisheye
3. New window will appear. Set the persentage of the effect.
Lens Value
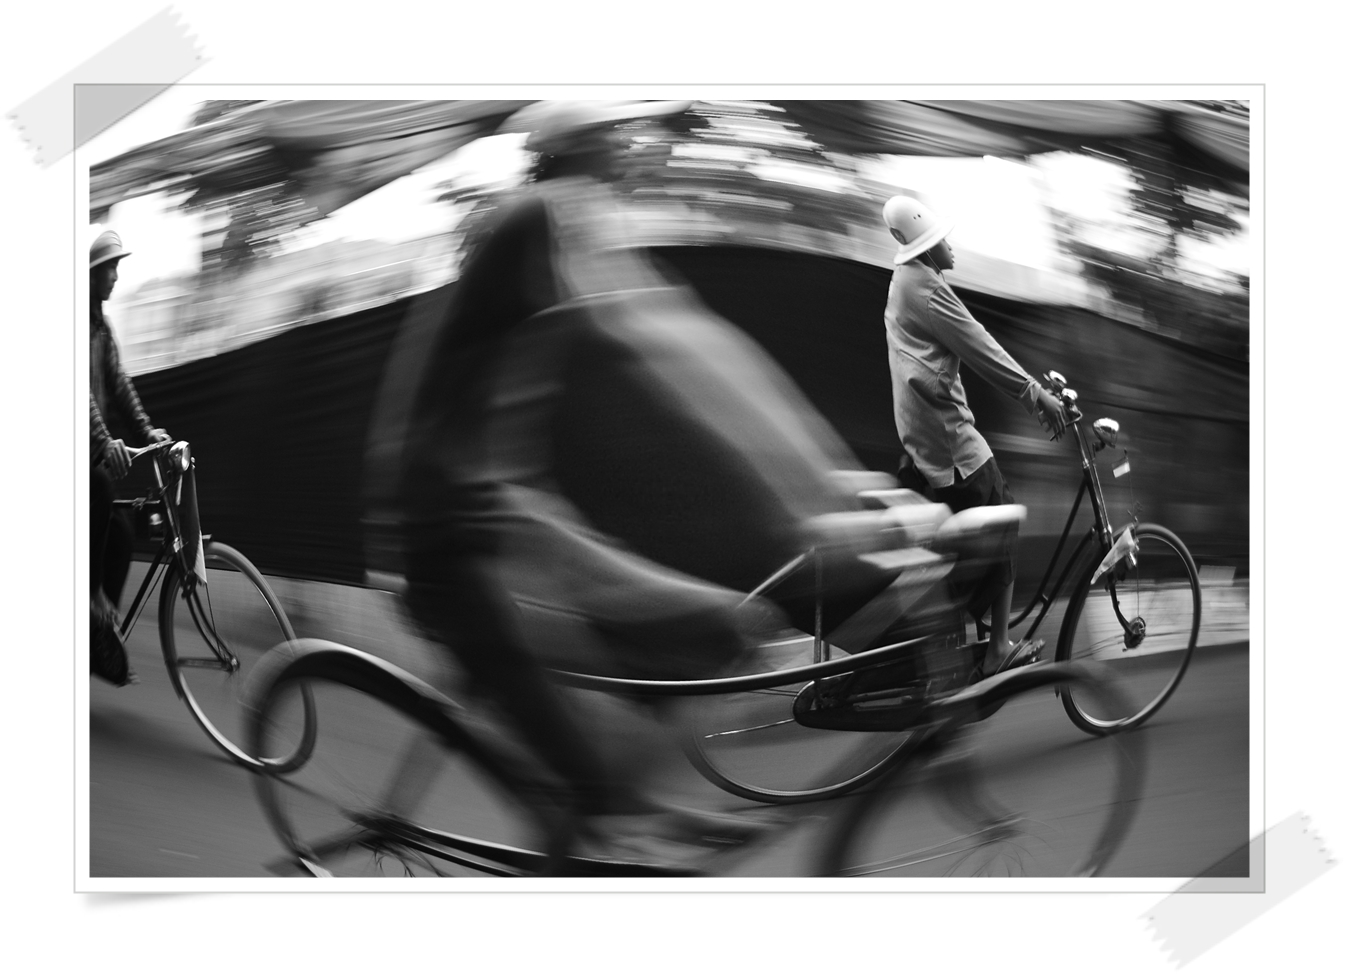
4. You can combine with another effect or filter and you can add frame. Like in this page or this page.
Ridding Bicycle with Fisheye effect and Frame

House with Fisheye effect combine with Antique effect and Frame

How To Optimize and Creat Photo Frame With Photoscape

The increasing of needs photo editing, the more photo editor software. Not a few software that offer an increasingly various tools. This is because the desire of people to enhance photo appearance.


Photoscape offers the manufacture of photo frames. This will enhance the appearance of your photo. For more details, let us start the tutorial
1. Open your file just like this page.
2. Before we choose the frame, better we optimize our photo first. Click the Auto Level button at bottom. Or you can choose Auto Contrast. If you want your photo crisper, you can click Sharpen button. At Sharpen button you can set as you like.
Auto Level, Auto Contrast and Sharpen to optimize your photo before next step editing
3. Choose frame as you like at box at bottom under Photo + Frame button.
Many type of Frame
4. Before you click button Photo+Frame, better you resize your photo first if you want it(learn at this page). Because if you click it, your photo and frame become one(frame become part of photo)
Photo+Frame to combine photo and frame
5. Now you can save it(learn at this page).
Flower with frame

Tutorial : Create Image GIF With Photoscape

Are you borred creat only 1 image? Want some new one?
This time We'll learn about making image GIF. What is GIF? You can see at http://www.webopedia.com/TERM/G/GIF.html or http://www.businessdictionary.com/definition/graphic-interchange-format-GIF.html.

Now you know about GIF (Graphic Interchange Format). With Photoscape It's very easy and simple to make it. Even you can creat GIF with some effect and you can set the time between image or photo.

If you don't have Photoscape please download and install it first. You can find Photoscape at this blog.
And if already install it, we can start
1. Open your photoscape. If at first tutorial we choose Editor. Now we choose Animated GIF.
Animated GIF

2. Drop your photo at the middle area. For example 4 photos.
Drop your photo at the middle area

3. Change the effect with Change effect button at right side. And you can Change time, Resize Ratio image, Background Color or Photo Align
tools to set GIF at right side
result

Tutorial : Create Antique or Old Photo using Photoscape Part 2

Not enough with your photo appearance? Now we'll try give some tutorial to enhance your photo. It's like the old tutorial but a little different. We'll give some more effect or filter. We hope you aren't borring to learn how to make old photo. This efects are most people like.

If you haven't learn to make Grayscale and Sepia, I suggest you to learn it first at http://nomorelonesome.blogspot.com/search/label/photoscape. Because we wouldn't show the picture how to make Grayscale and Sepia.

Shall we begin? Lets start
1. Open your image. And change it to Grayscale

already Grayscale
 
2. Choose Filter and find Antique Photo. Please choose number 04

Antique Photo number 04
 
3. Make your Photo to Sepia by clicking the Sepia button

after using Sepia
 
4. Back to Filter and choose Fade Style. Don't forget click it until new window come out. Set color : 230 and level : 60%

Fade Style
Set color : 230 and Level 60%
after using fade style
 
5. Find Newsprint at Filter and click it. Set the size : 9

Newsprint
Size 9
 
6. Enjoy it

final

How to Resize and Save Photo Using Photoscape

At first time using software, we must learn how to use it. At photo editor software, at first time, we learn how to open a file of photo or image. You can learn at here and how to create antique photo.

Now we'll learn how to resize it and how to save it. May be in this case, every one could do. Because this step is very easier. All you can do only find resize and save button, and then click it, right?

However we'll show with picture in this tutorial.
1. After Open the file or editing photo like in this page may be you want to resize the photo. Because if our photos still big and want to upload and share, it would take time more longer. Now click Resize button at bottom.
Resize button
2. a.New window will appear. Check the aspect ratio. If not check it, you'll only resize height or width. Or you can scroll the Ratio. It's more easy to use if you don't want more spesicific widhth and height.
Resize
  b. But if you choose right arrow ati riseze button, it would be like this.
Choose right arrow Resize
It would be easier if you need specific size.
4. After resize, you could save it. Find save button at bottom right corner.
Save button
5. New window will appear like this.
There are three choice that you can choose
6. After that you can set the quality of the photo or image.
JPEG Quality

Tutorial : Create Antique Photo using Photoscape

Do you have software photo editor Photoscape? If you don't have please find it and download at www.photoscape.org. And then you can install it. Don't worry it's only 16MB. 

Now I will give some tutorial creating antique photo using Photoscape. It's very simple. But may be for some ordinary people make a little confusing. But I believe you never give up to learn this tutorial. And we want tell you step by step.
1. After you download, find the file where you download and install it. Find the software and open it.

photoscape

2. Choose editor if you want to editing photo or image. Find your photo at folder upper left corner. All your  photo will show up in the bottom.
upper left corner

photo


3. Find Grayscale button and then click it. Your photo will be only black and white.
Grayscale button

photo will be only black and white
4. Find button Filter and then choose Antique. And then choose number 02
Filter button
Choose Antique Photo no. 02

after using antique photo
5. If you still need some sepia color you can add it. Find Sepia button and then click it.
Sepia button

Final Result
6. You can enjoy another antique photo. Choose number untique photo that you like. And don't be afraid to try. If something wrong with your image, you can undo it one by one or you can undo it all. You can find undo button at bottom right corner.
Undo button